The A11y Toolbox is a multi-faceted software that digital accessibility teams can use for all of their auditing needs. Because there is so much useful functionality packed into one software, here’s a brief introduction to the toolbox layout and all of the information you can find within it:
Main Menu
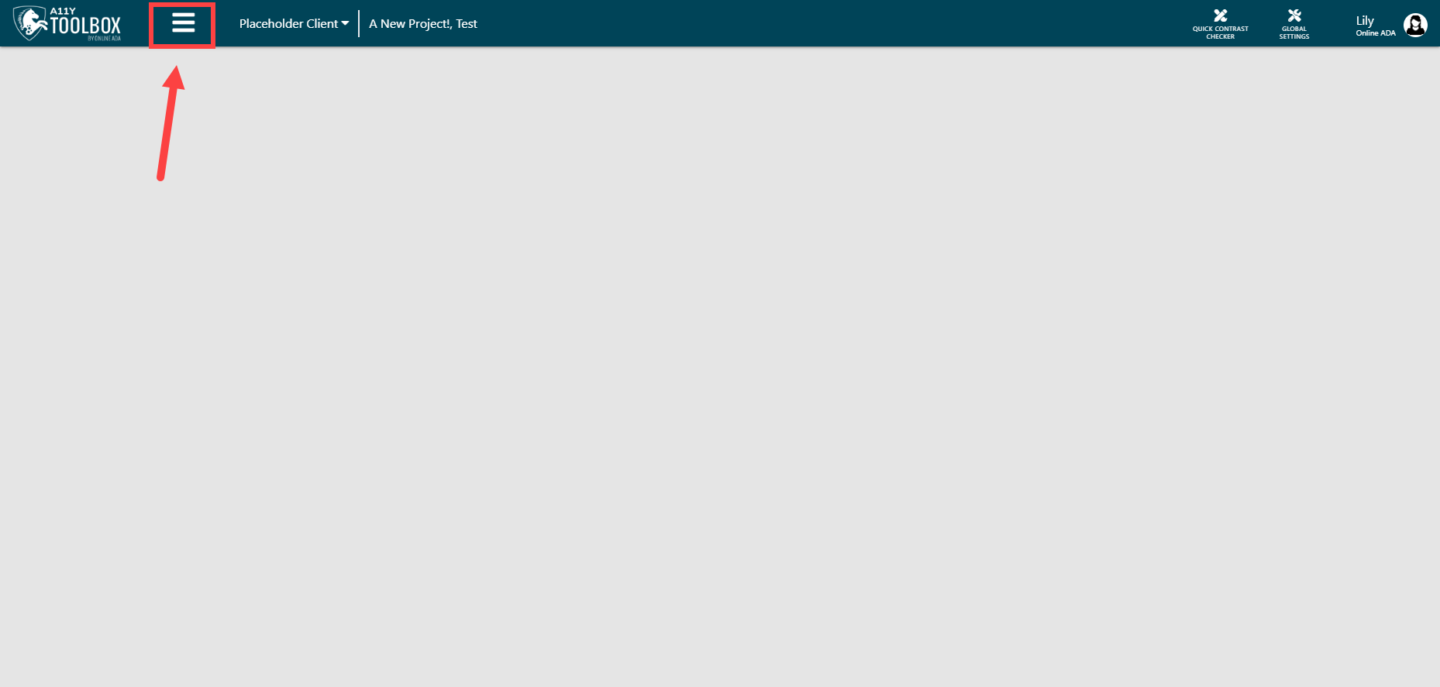
The hamburger menu on the left side of the header is the main menu in the toolbox. It is where you’ll locate all of your projects, tools, and audits.
Project List
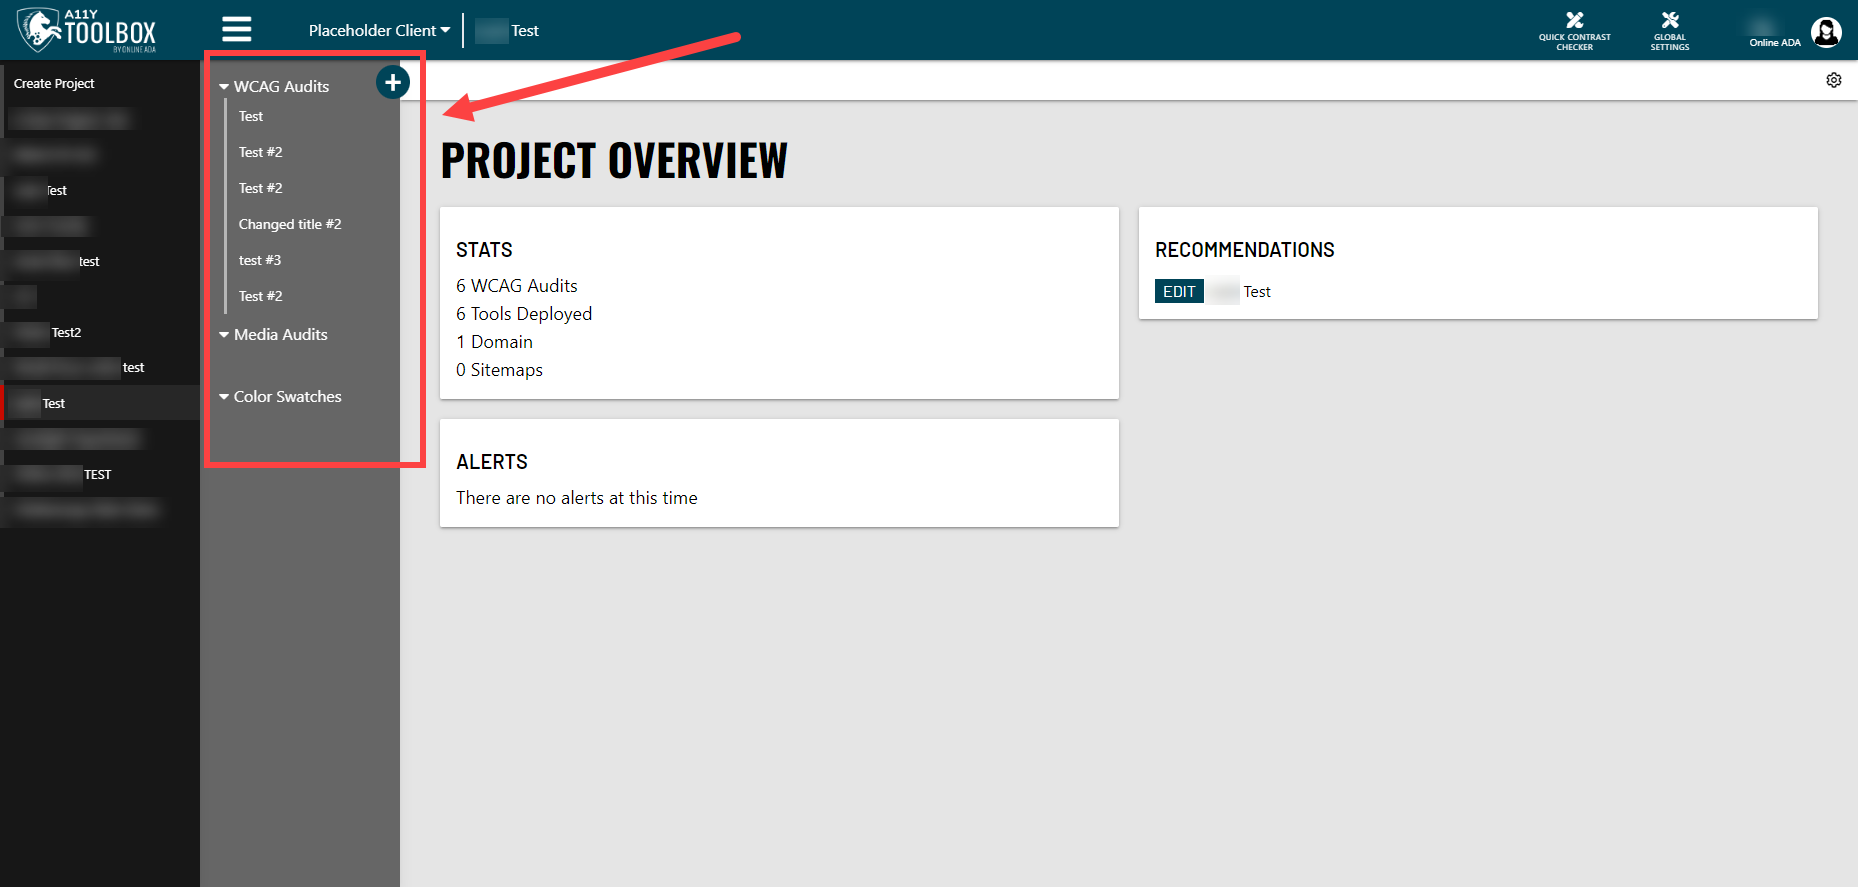
When you click on the main menu, your list of projects will appear to the far left of the page. At the top of the list is the option to create a new project.
Tools / Individual Audits List
If you select a project from the Project List, the Tools and Audits List will appear as a sub-menu to the right of your projects. This menu includes all of the content you have created using the toolbox, which are currently broken down into WCAG Audits, Media Audits, and Color Swatches.
At the top of this sub-menu is the “Deploy a Tool” button that shows a plus icon, which is where you can access all of the tools in the toolbox (currently including a WCAG Audit, Media Audit, or Color Swatch Analysis). When you click the button, a new window will pop up. Here you can choose which tool you want to use.
Project Overview
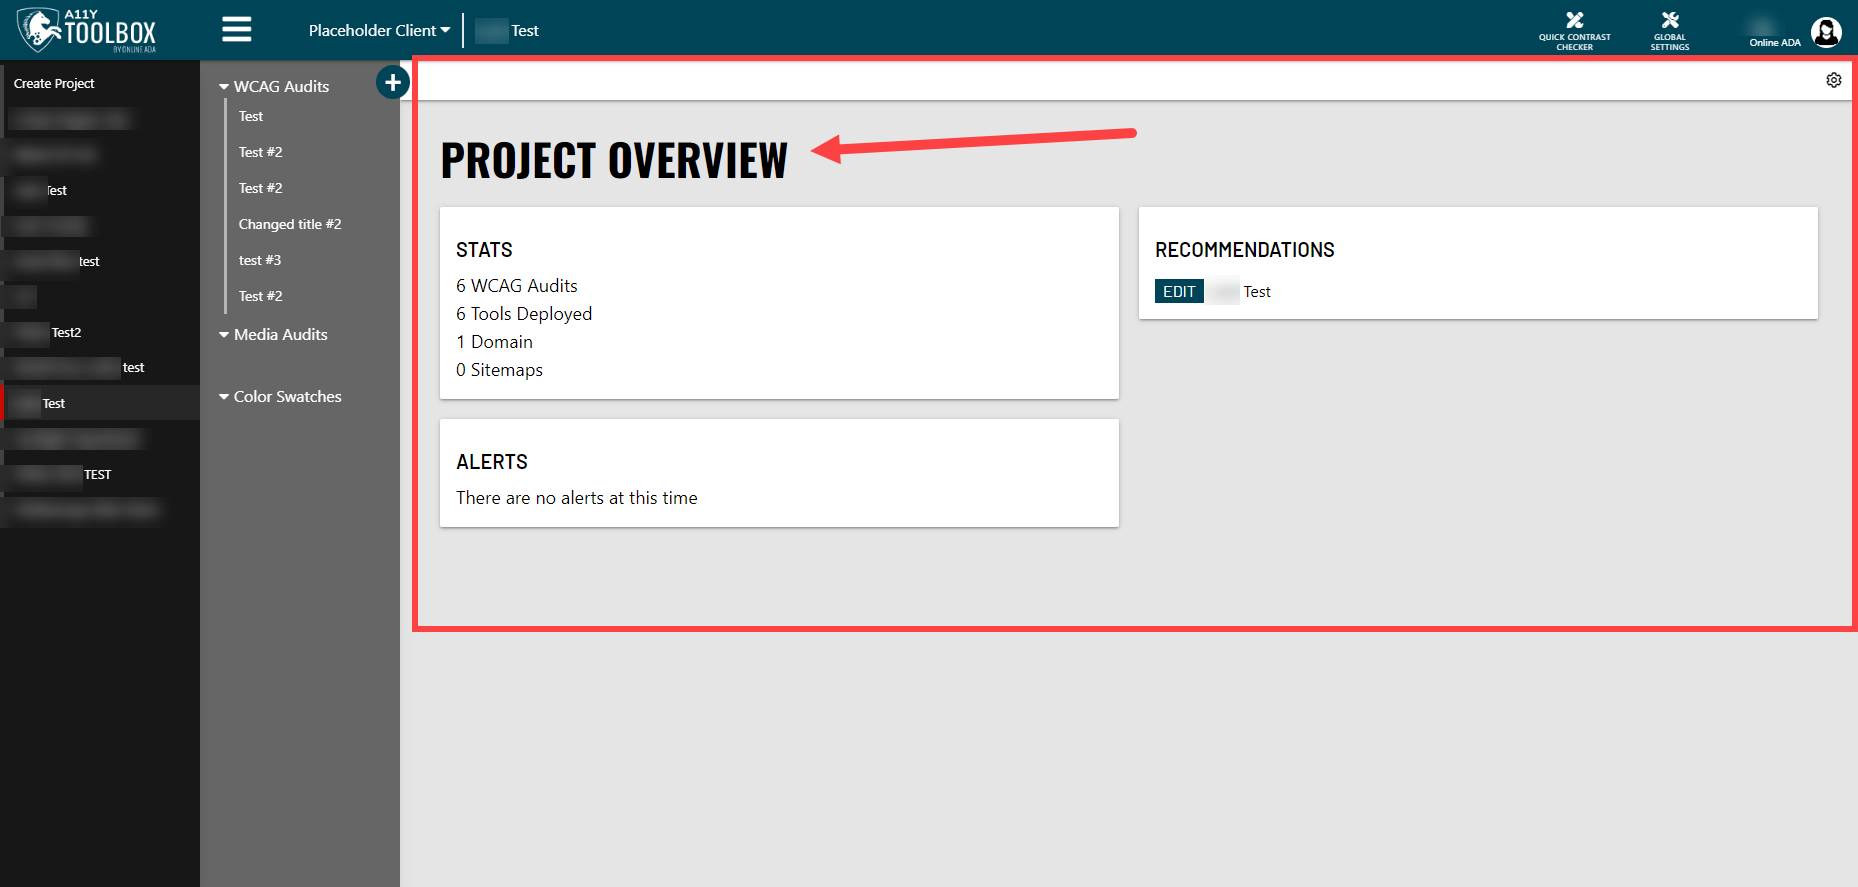
When you select a project, the Project Overview will automatically display in the main body area of the screen, to the right of the menus. The Project Overview contains stats about your audit including a variety of stats, possible alerts, and recommendations.
The Stats shown include the number of WCAG audits, number of times a tool has been deployed, the number of domains being used in this project, and the number of sitemaps included.
Alerts and recommendations are both an automated process that the Toolbox software will perform on its own. Examples could include recommending that you add a sitemap, for example. Having empty alerts or recommendations is not a bad thing!
Client List
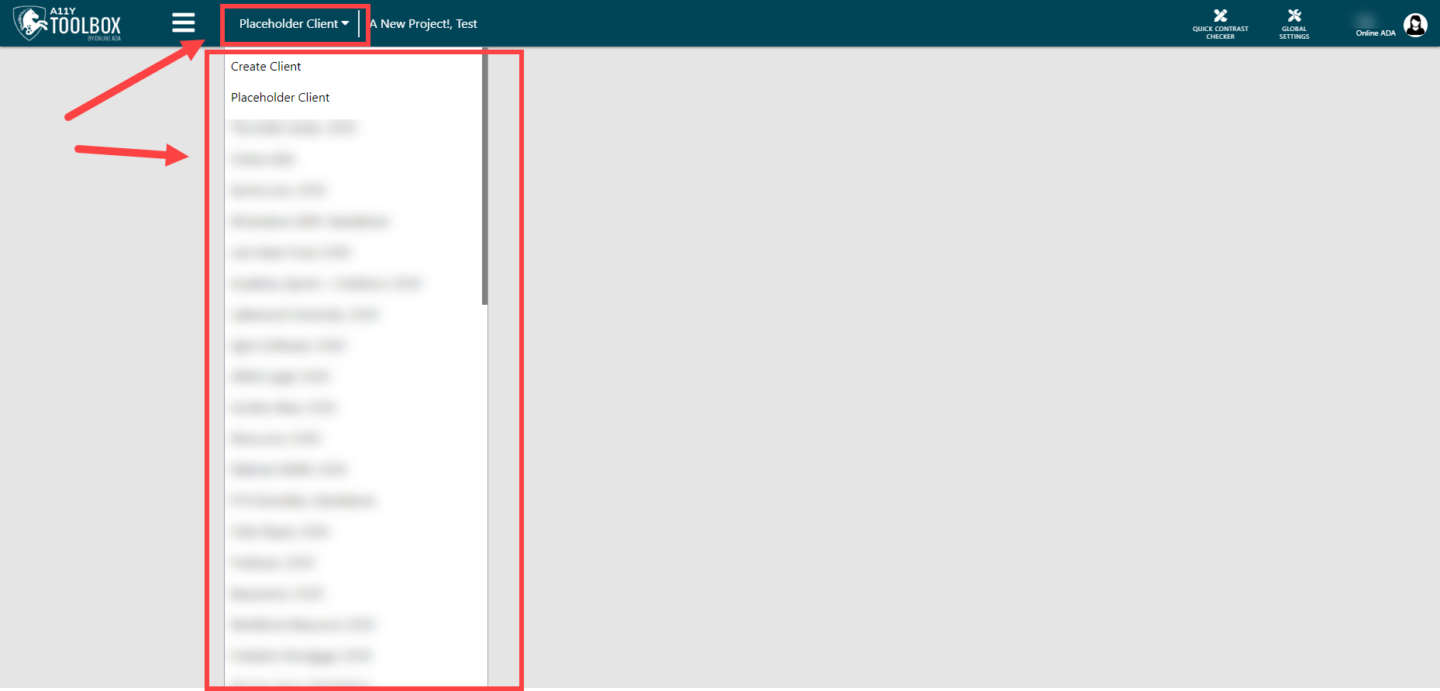
To the right of the main menu in the header is your client menu. Here is where you can either choose a client from your client list or create a new client. Creating a client is always the first step you’ll need to take before starting any projects or audits for them.
Active Project
To the right of the client menu in the header, you’ll see your currently active project. This is an organizational aid so you can see your active client and active project right next to each other.
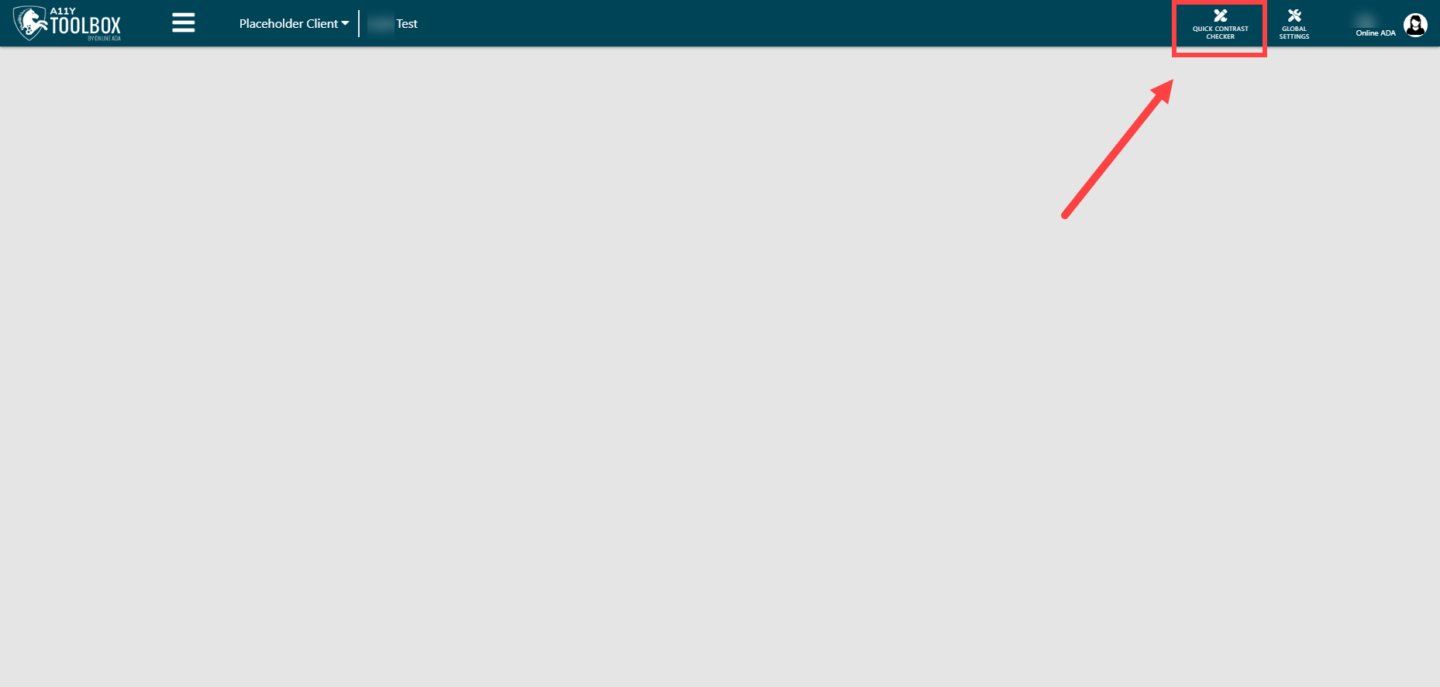
Quick Contrast Checker Tool
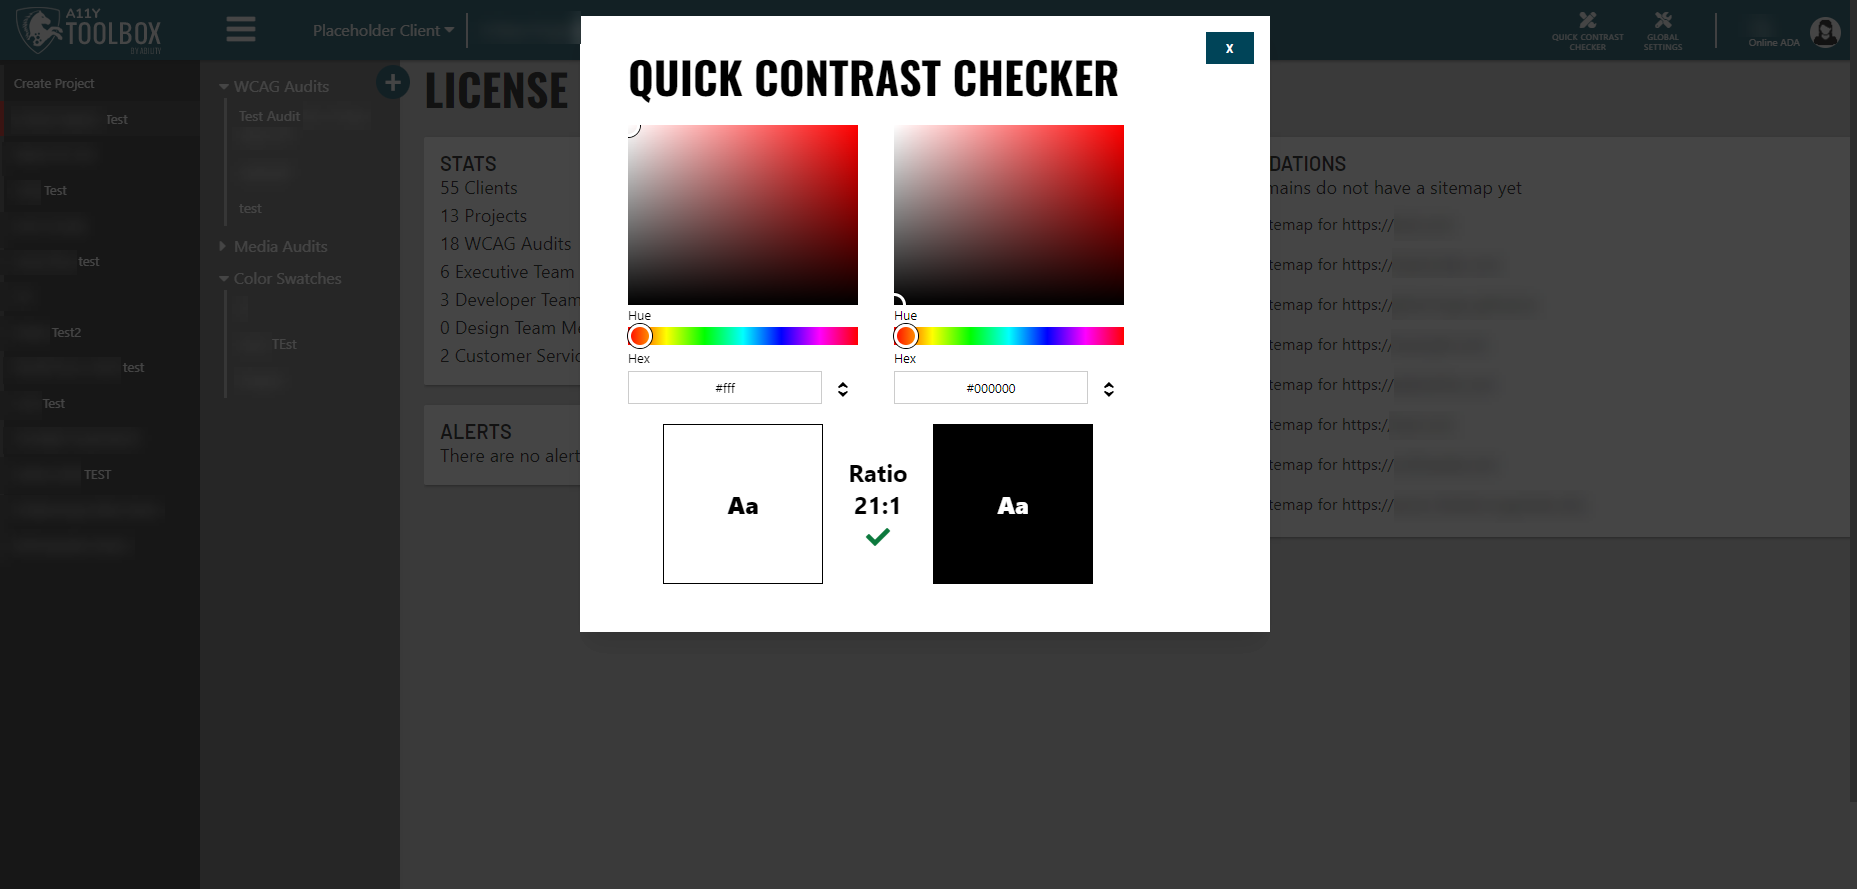
Toward the right side of the header, you’ll find the Quick Contrast Checker tool.
This tool is almost exactly the same as the Color Swatch Analysis tool that you can use within client projects – the main difference is that any information or results you get with this Quick Contrast Checker will NOT be saved. This is a very handy tool to use if you’re checking lots of components back to back and don’t need to save every single result.
The Quick Contrast Checker is a great tool for designers, who are building or fixing web pages and need to meet proper color contrast requirements.
If you’re wanting to save your results or associate them with a client’s asset, etc, you should use the full Color Swatch Analysis tool instead.
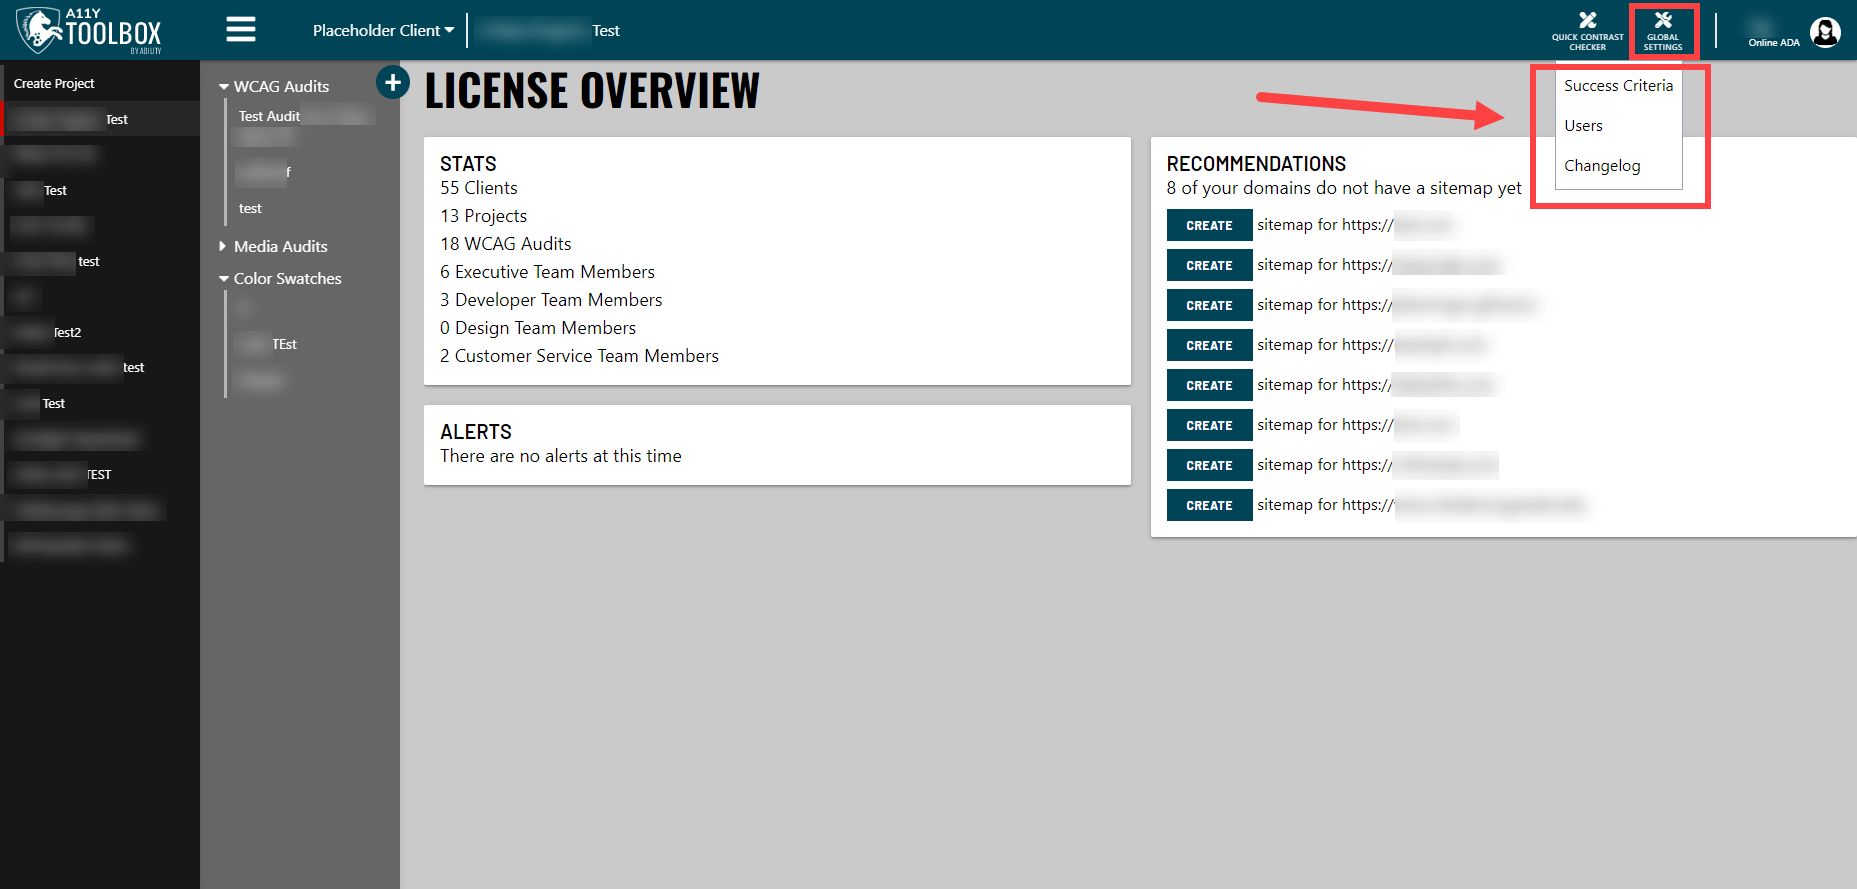
Global Settings
The Global Settings, located on the right side of the header, is where you can customize your Toolbox account. You can change the WCAG Success Criteria that show up as options in your audits, add or edit users in your Toolbox account (you must have a Manager role on the Executive team to add members – this is the default role and team that the first user associated with a Toolbox account will have), add or edit your account properties such as site domains or software, and even view any/all of the automated audits you’ve run with their corresponding information.
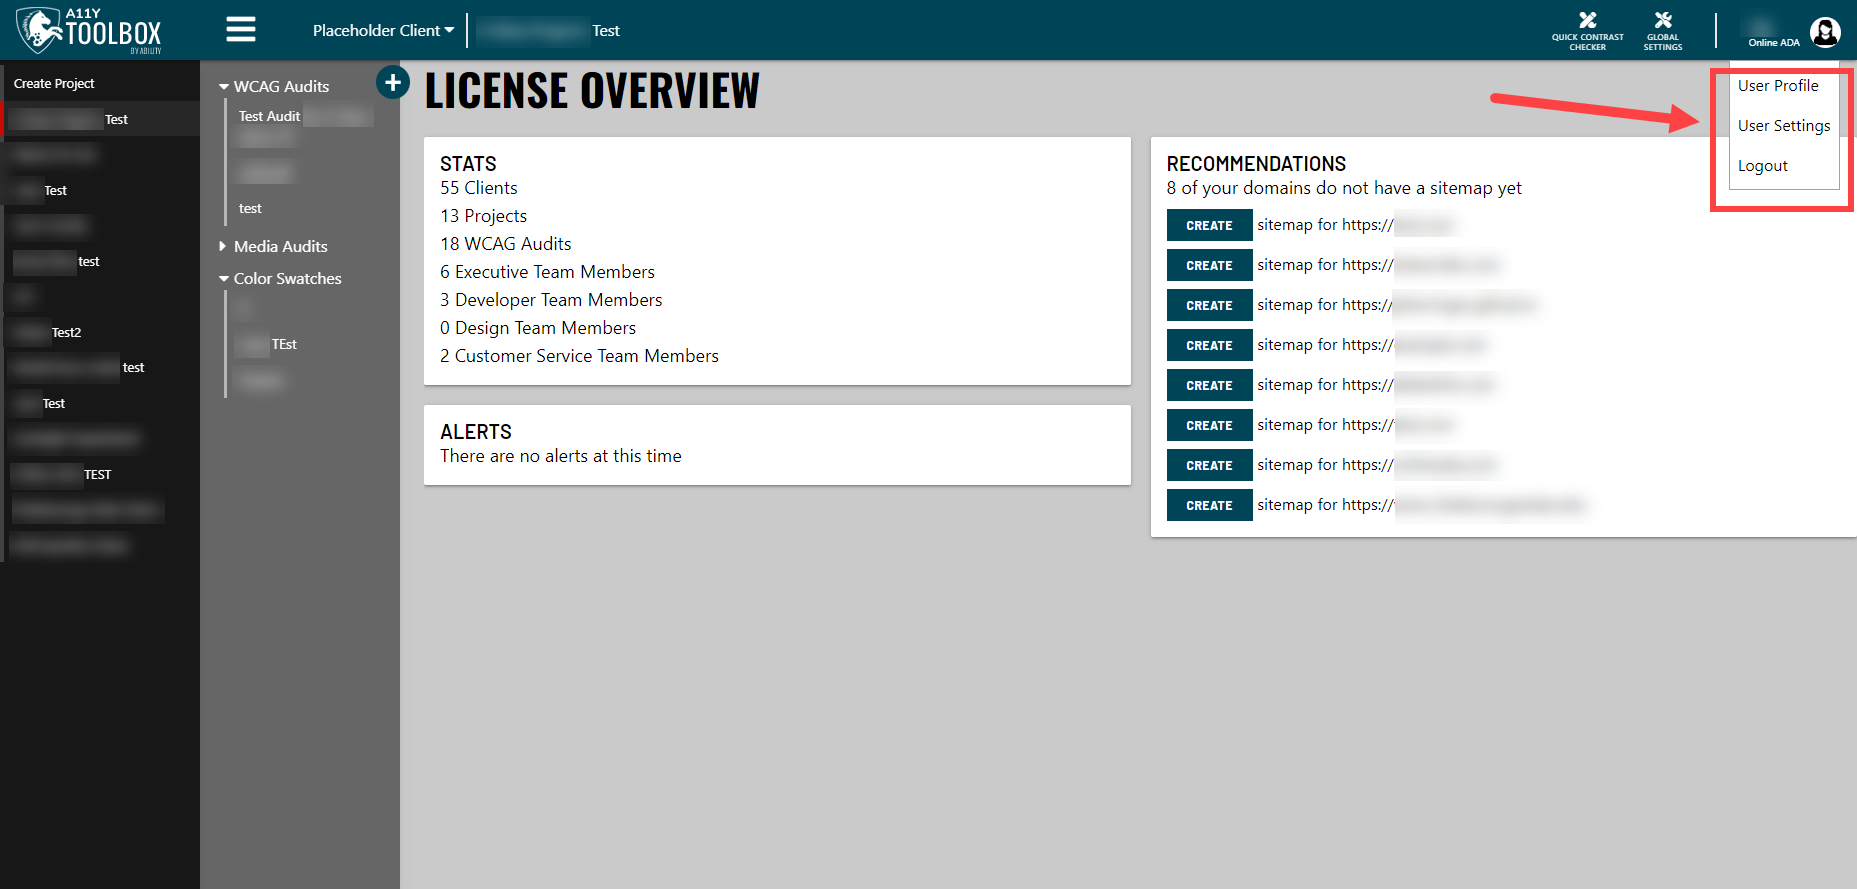
User Settings
The A11y Toolbox User Settings, located on the far right side of the header, include your personal user profile and the logout button.