Setting Up Your First Client, Project, and WCAG Audit
When you use the A11y Toolbox for your accessibility auditing needs, you’ll have a variety of tools at your disposal. Accessibility auditing professionals specifically have two audit tools available to them: the WCAG Audit and the Media Audit.
The WCAG Audit tool is designed to streamline the auditing process, allowing you to quickly add applicable WCAG references and create customized audits for clients. In addition to creating audits from scratch, the WCAG Audit tool has the ability to import prior audit results to start a second, comparative audit (which you can read about in this separate tutorial).
For step by step instructions on how to set up your first client, project, and WCAG Audit, read the tutorial below.
Add Your Client
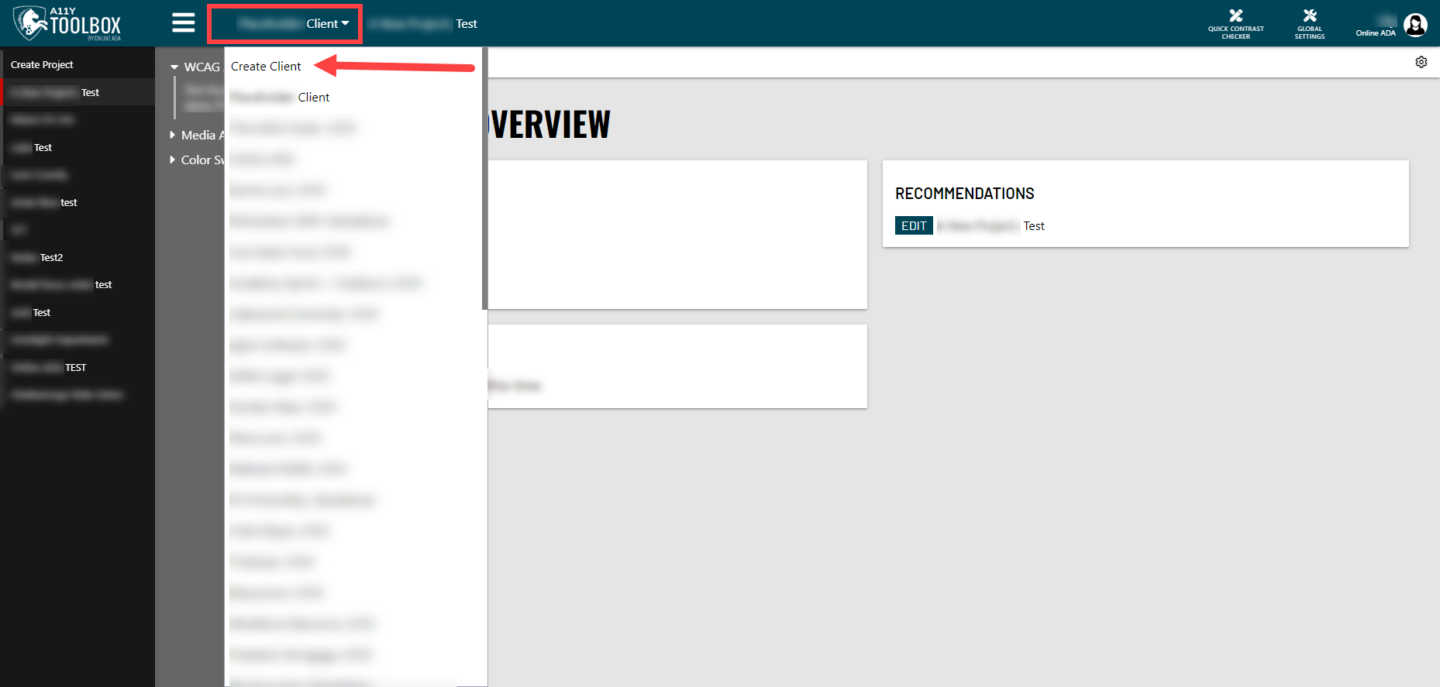
Once you’ve logged into your Toolbox account, the first step you’ll need to take before you can create an audit is to add a client to your client list. To do this, navigate to the Client List located to the right of the main hamburger menu. Once selected, choose “Create Client.”
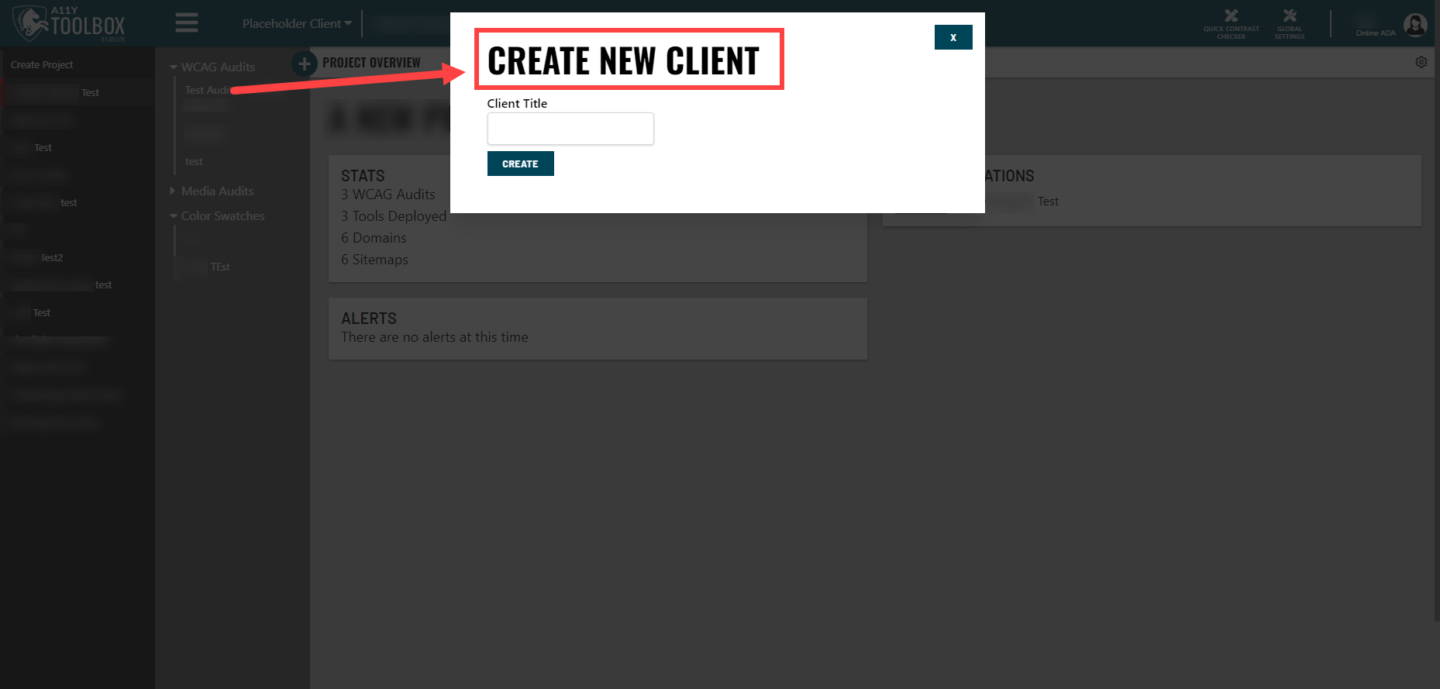
A “Create New Client” pop-up window will appear – here you’ll input the client’s name. After you have added the client’s name, select the “Create” button. Your client will then appear in your client list.
Create a Project
The next step after creating your client is to create a project. Projects are useful for a variety of reasons, like keeping track of separate application and website projects you may be working on simultaneously for a single client.
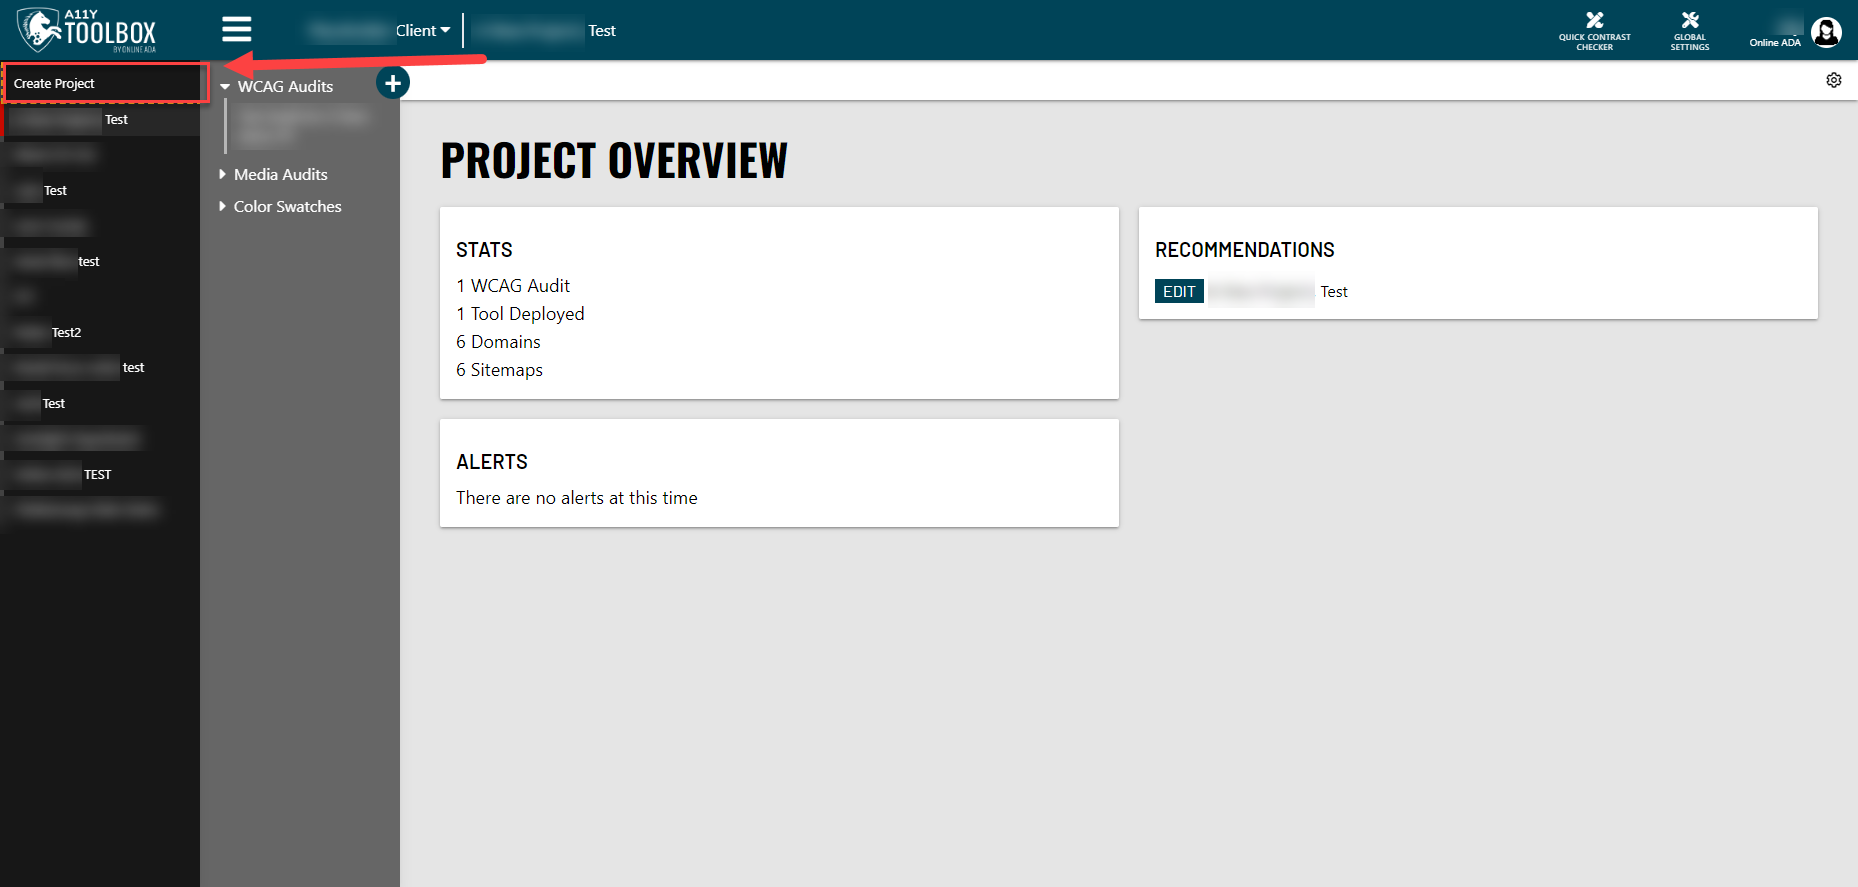
To create a new project, you’ll select your client from the Client List and then click the hamburger menu at the top of the page. This will pop up the main menu, and a “Create Project” option will appear at the top of the list. Click “Create Project” to open the pop up window.
The Create New Project pop up window will appear. In this window, you will add a name to your new project. Then select the “Create” button at the bottom of the window.
Starting a New WCAG Audit
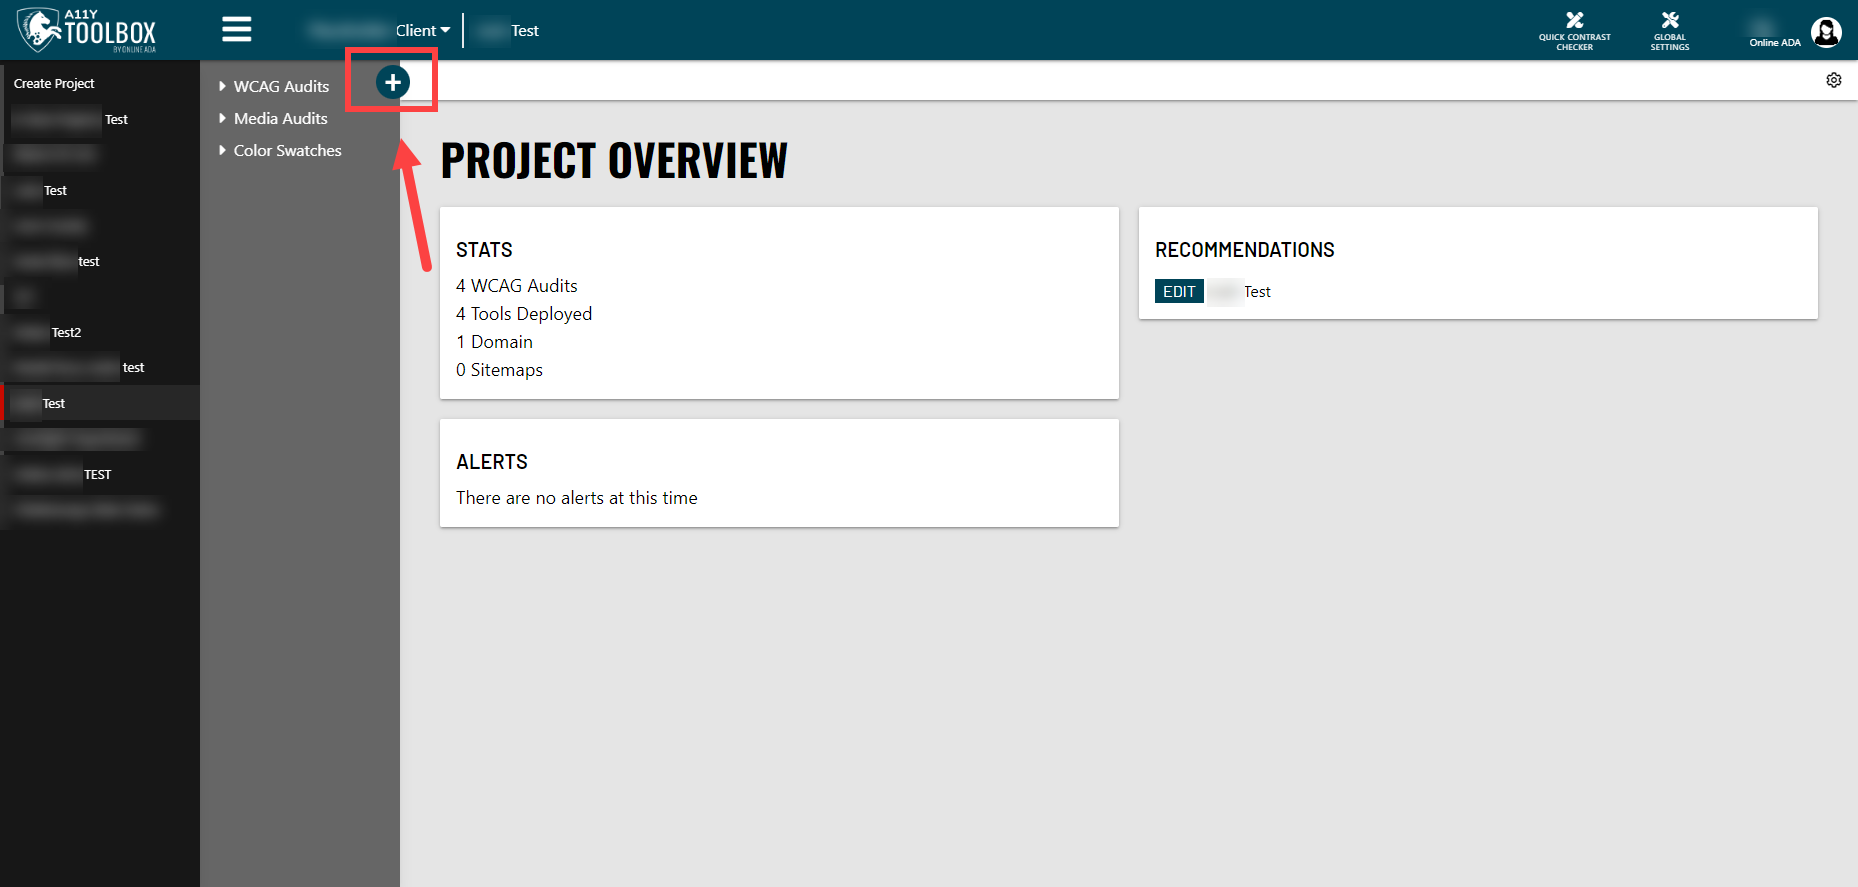
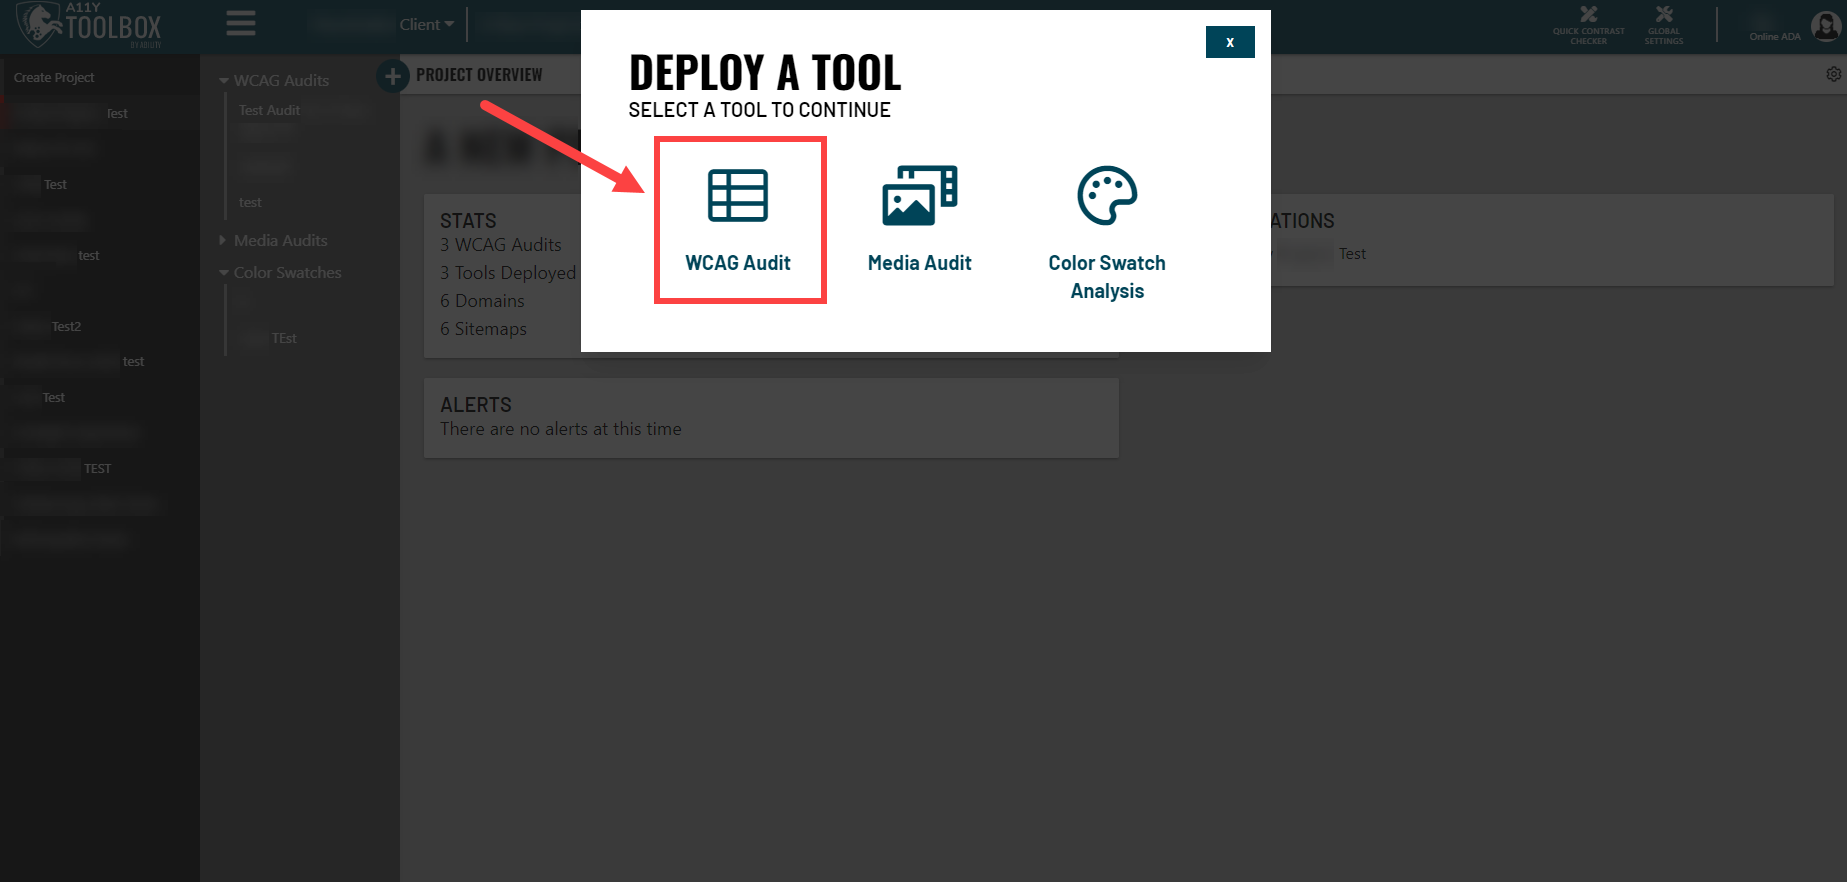
With your new project set up, you are now ready to add your first audit. To do this, select the “Deploy a Tool” button that shows a plus icon at the top of the Audit menu. This will open up the A11y Toolbox tool selection window.
Select “WCAG Audit” from the list of available tools. This will automatically change the pop up window to include the WCAG Audit setup options.
WCAG Audit Setup
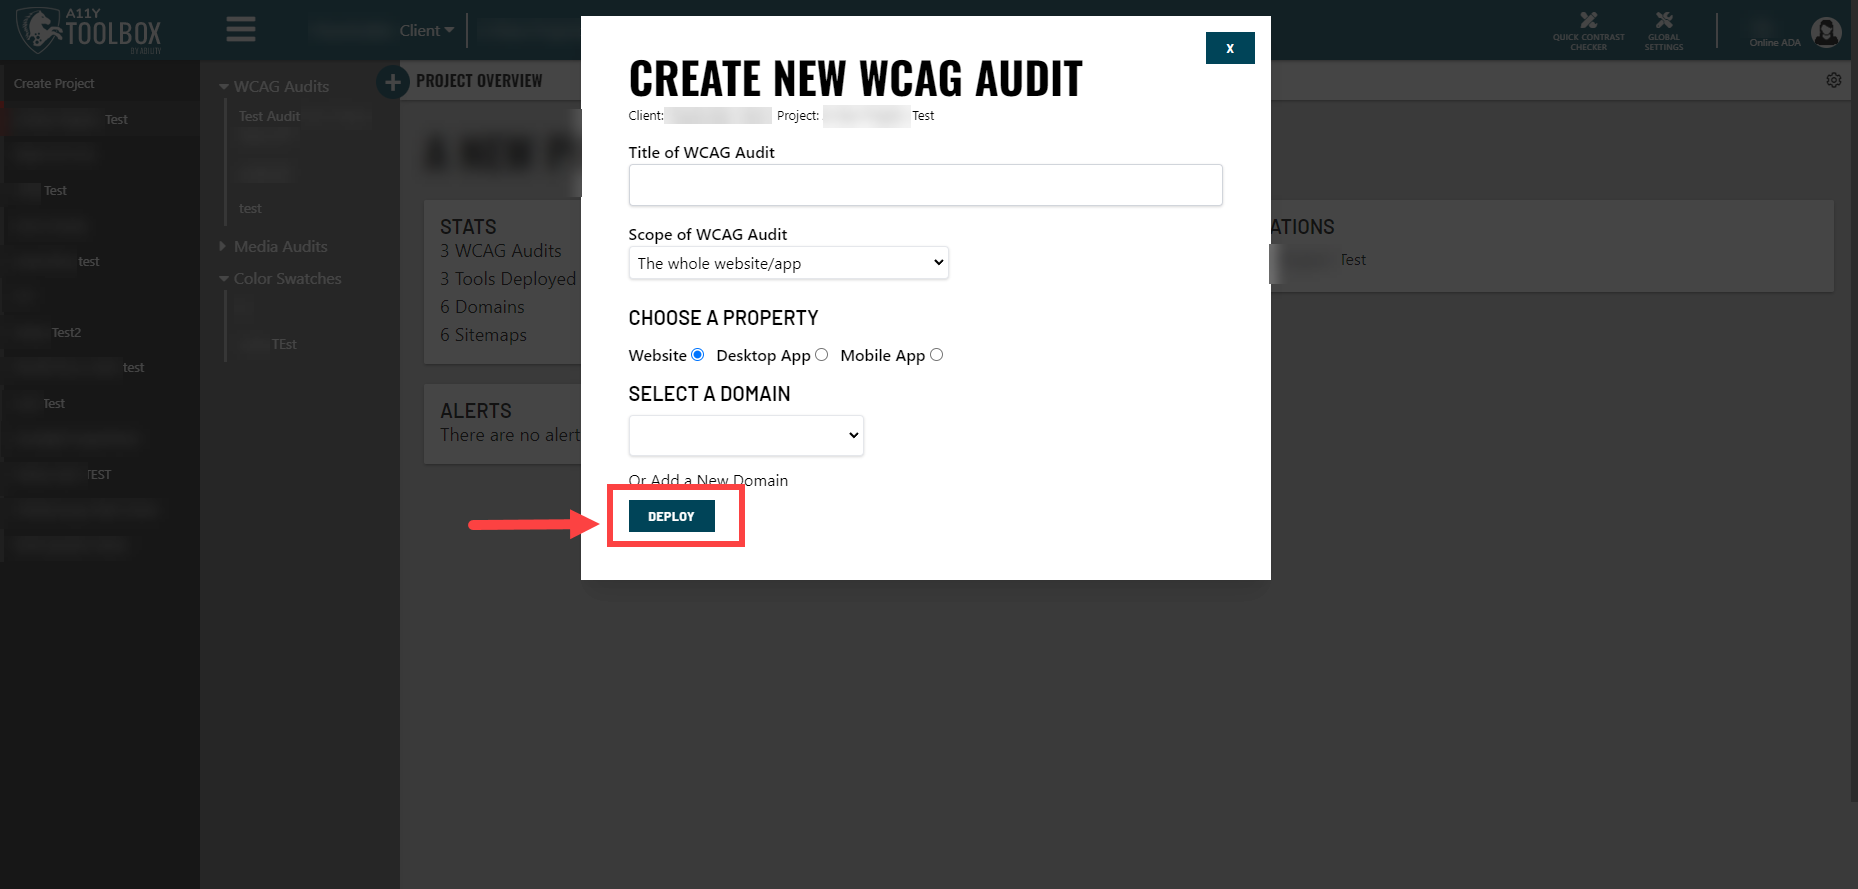
Before you create your audit, you’ll have one final round of setup information to complete in the “Create New WCAG Audit” pop up window, which includeds adding a title, scope, property, and domain/software. Select the “Deploy” button at the bottom of the pop up window to create your new audit.
Congratulations! You’ve created your first audit!
WCAG audits have a variety of customization options available within them, even after you’ve set up their initial structure. For an in-depth look at the buttons, actions, and customization options inside a WCAG Audit, check out our WCAG Audit Customization tutorial (coming soon).