If you have a growing team or have team members who shift between different roles, you may need to add or edit users within the A11y Toolbox. Luckily, it’s a straightforward process!
This tutorial details the two different ways you can add users to your account through the Toolbox, along with the single way to edit users through the Toolbox.
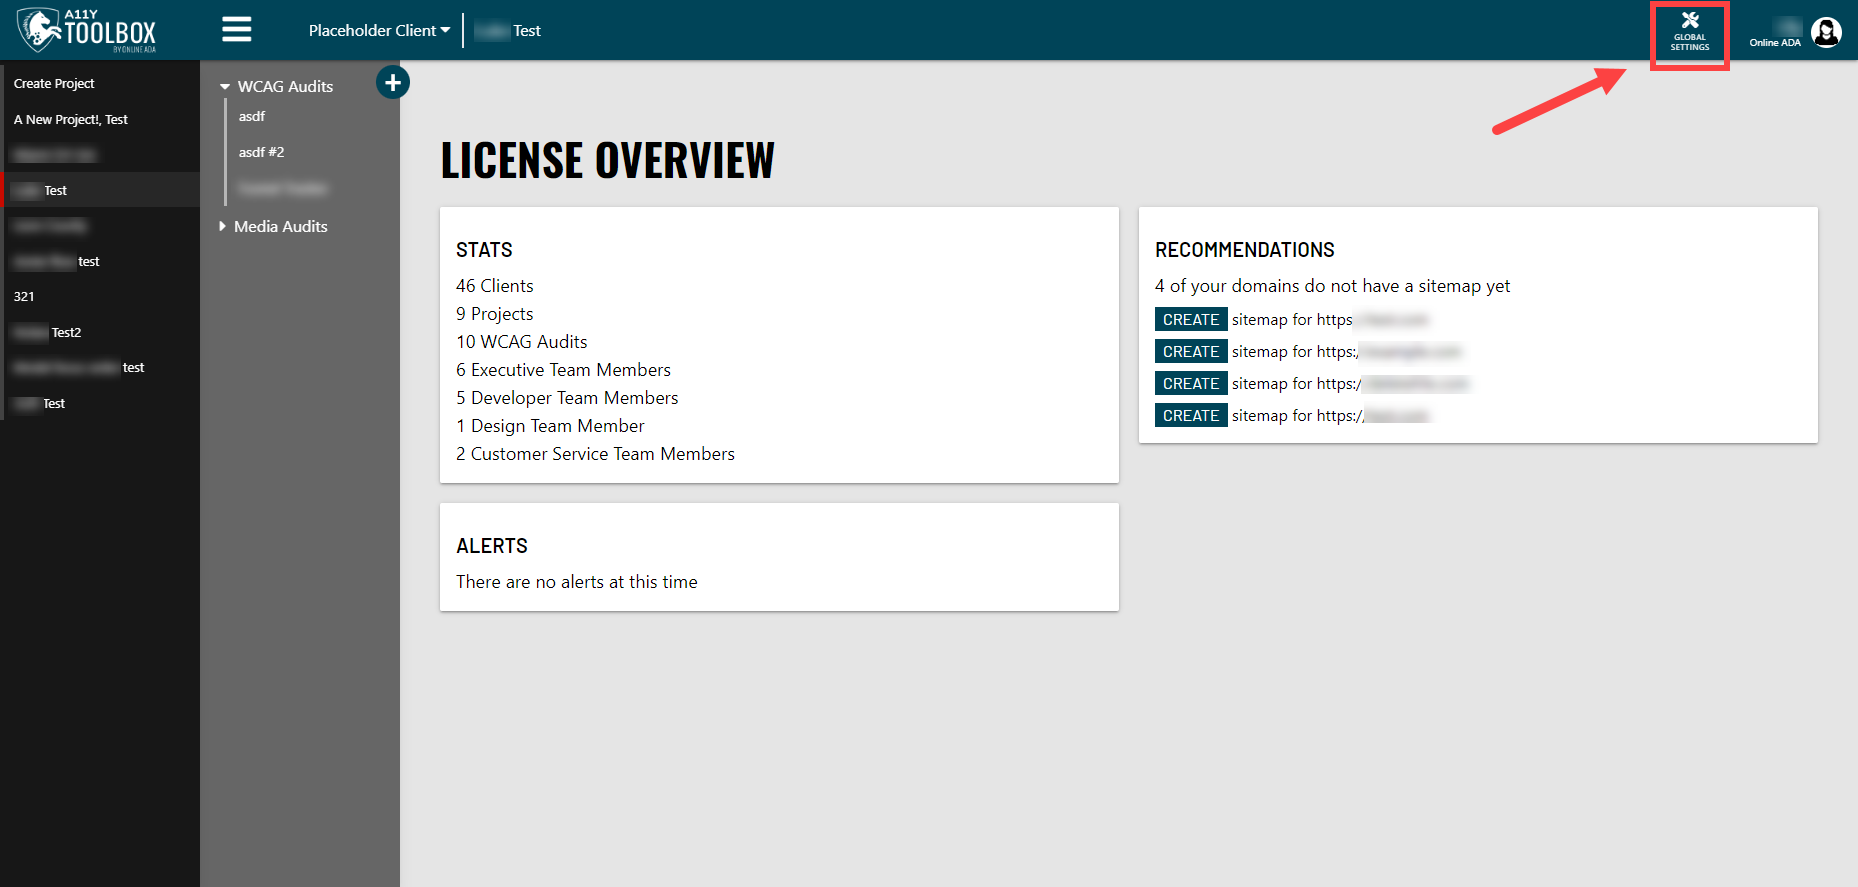
Once you’ve logged into your A11y Toolbox account, you can view all users on your account by navigating to the “Global Settings” option in the header of the Toolbox.
From the drop down menu, select the “Users” option. This will take you to a list of users associated with your account.
Adding Users
**Executive team members are the only ones who can add new users to any team. Managers in the Development, Design, and Customer Service teams can only add members to their own teams. If you are not a Manager or Executive team member, you will NOT see the Add Users button.**
If you’re a Manager or a member of the Executive team, you will see an “Add Users” button at the top of the page. Select this button to add a new user. The Add Users modal will appear.
There are two ways to add a user to your A11y Toolbox account:
Invite a brand new user to the Toolbox (Please note: this will also add them to your list of users in your overall ABILITY account, the V4 Platform), or
Give an existing account from your V4 dashboard access to the Toolbox.
If you want to add a brand new user, enter their email address in the text box under the Invite a New User heading and choose their corresponding team and role. Then, click the “Invite User” button. An email will be sent to the user and prompt them to set up their account.
To give an existing account access to the Toolbox, simply search for and select the user from the list of existing users that is displayed. Then click the “Add Users” button.
Editing User Teams and Roles
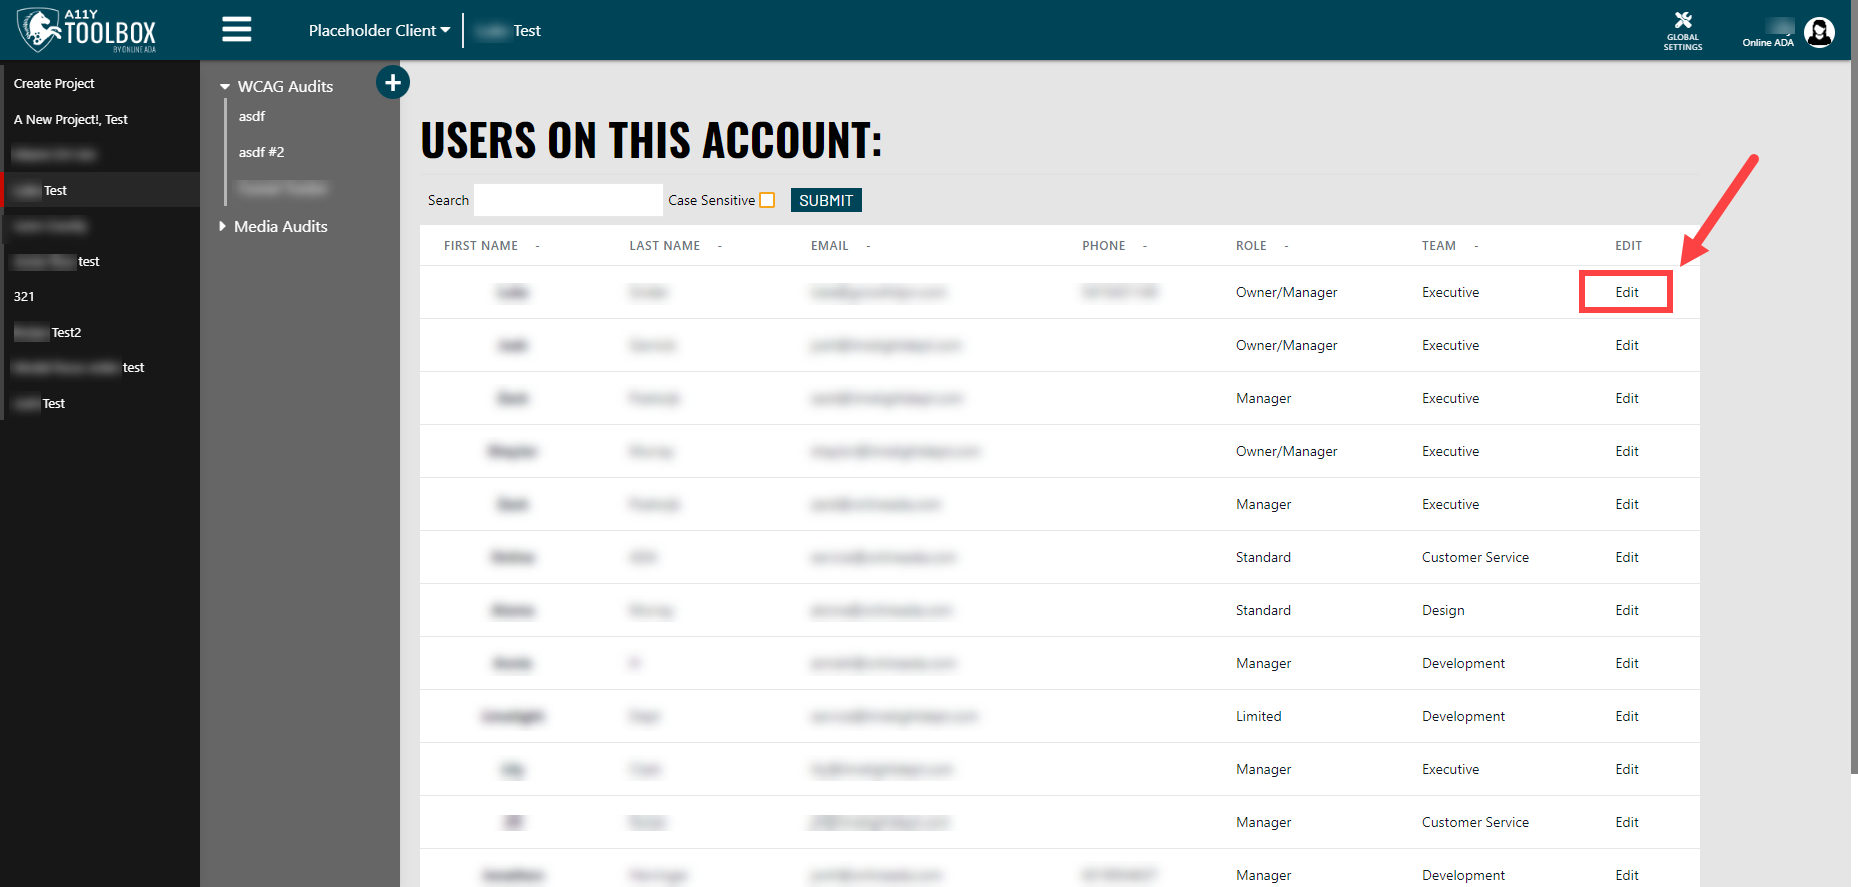
To change the team or role associated with an existing user in the A11y Toolbox, navigate to the Users page under the Toolbox’s Global Settings.
Select the “Edit” button next to the user’s name/account. This will pull up the Manage User page.
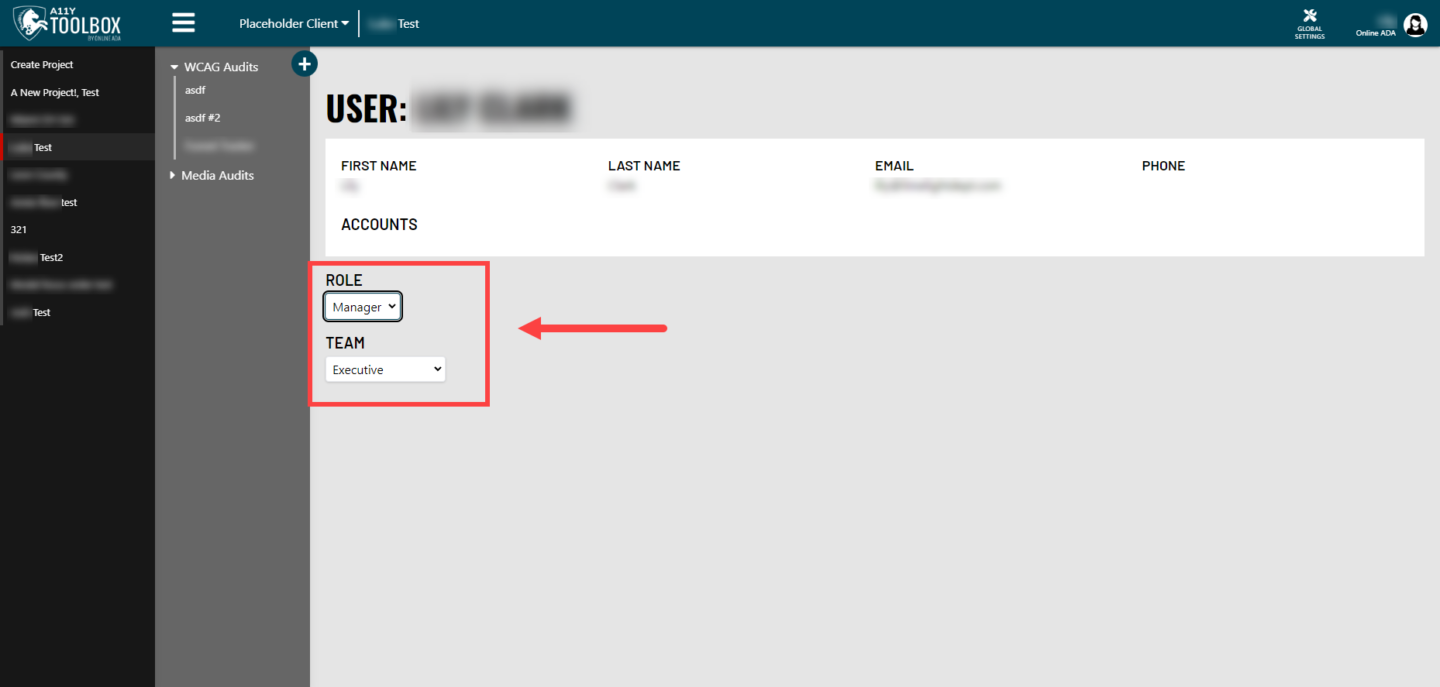
From here, you can change the role or team associated with that user by selecting their new status from the two drop down menus. All changes are automatically saved.